Showing posts with label shingles. Show all posts

Sunday, 5 May 2013

Laying the shingles


Not done a great deal of work on the barn roof over this long, wet and cold winter; certainly not as much as we had planned, but today was a beautifully warm and sunny May day and we are starting to make real progress on one side of the roof.


Over the winter we felled a really nice straight grained, knot free sweet-chestnut that should hopefully provide us with all the good quality stuff we need to complete the roof.
Once we have ringed a few sections of the trunk into 18 inch lengths, we split them initially with a maul and steel wedges.


The quartered sections are then split with a big froe and carried through the woods to the barn.


   It is constantly surprising how easily the chestnut splits, even at this large diameter.


Chestnut has many great qualities, not least of which is the small amount of sap-wood present, meaning most of the wood is perfectly useable, and fit for long years exposure on a roof. Its natural durability, combined with its ease of riving  makes it one of the best woods available in Cornwall for green woodworking. 


  While the team got stuck into making shingles, I got on with laying down some of the stock we made earlier in the year. I'm using 38mm copper nails to fix them as steel nails will corrode and rot out quickly  with the combination of rainwater and the tannic acid in the wood.  


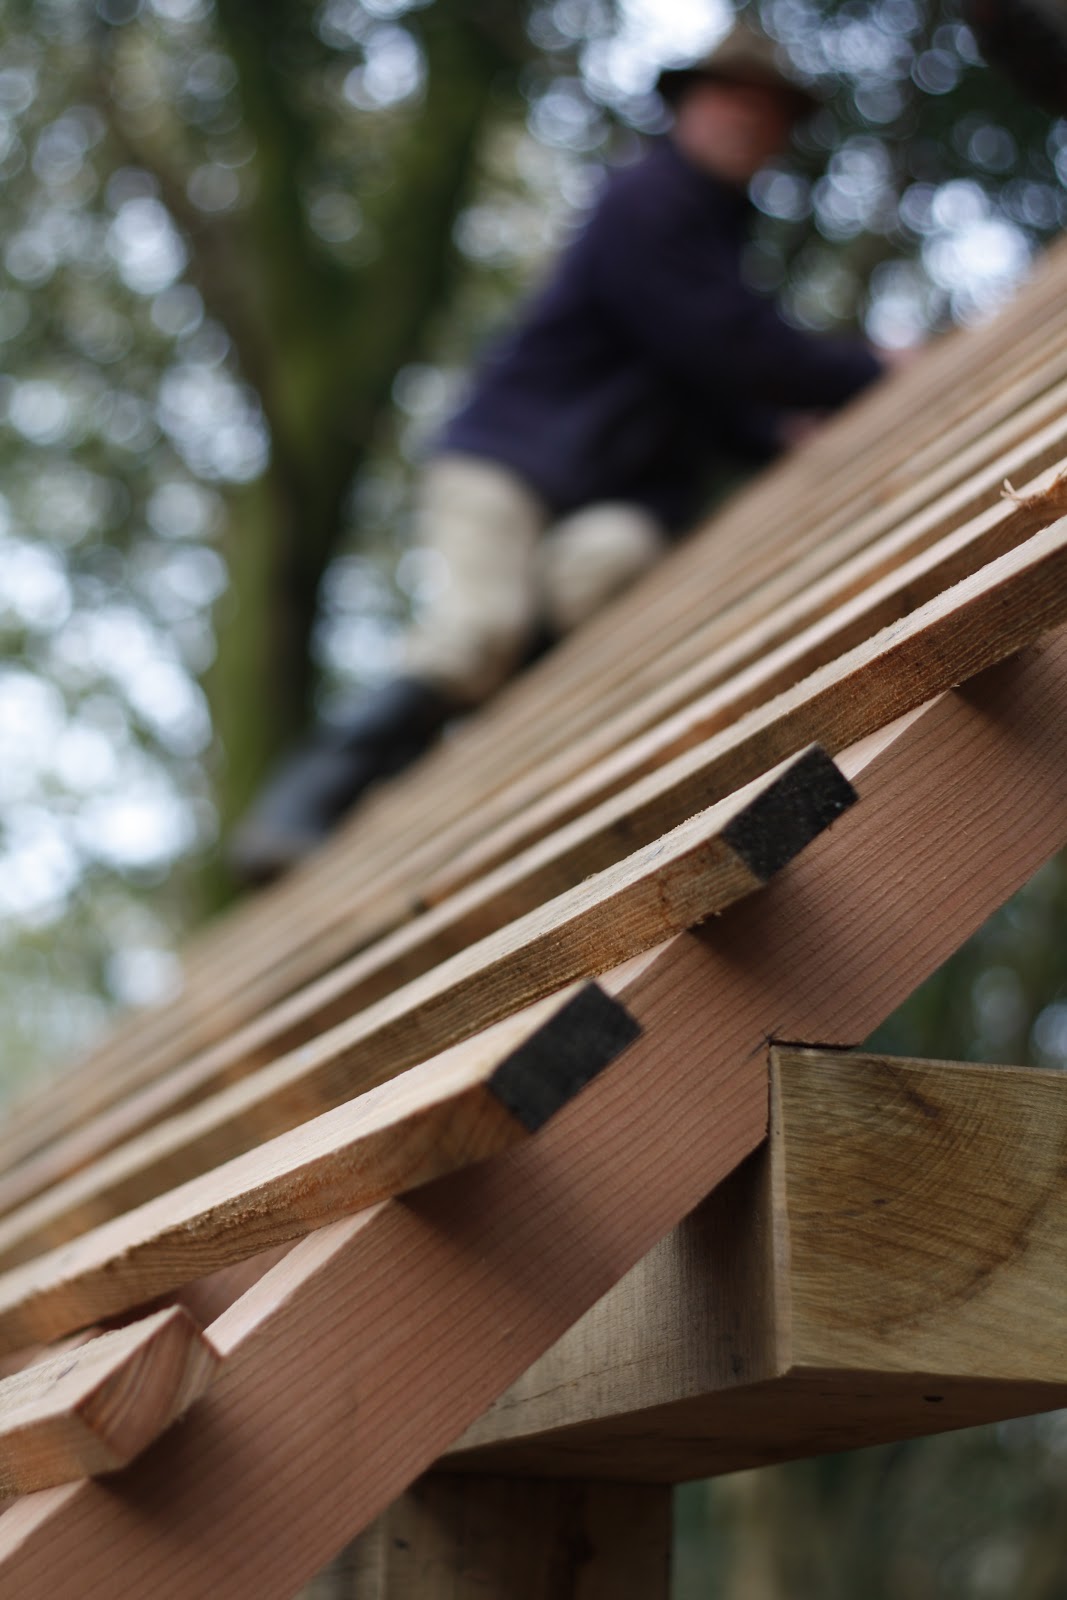
Only 6 inches of the 18 inch shingle is exposed, meaning each run of them is covered with the next two successive ones. It is quite possible to be able to see light shining through chinks from the inside of a properly shingled roof, and have no leaks at all.


Only finished shingles are taken up on the roof but they still occasionally need a wee trim to make
them fit snuggly to their neighbour. A shingling hammer has a little hatchet blade on its back. 


 We are putting these on while they are still green so they can be nailed on with no fear of splitting them with the nails. If they were seasoned we would be forced to pre-drill. Time consuming..


  Work doesn't get much better than this really, sun on your back, birds singing, good wood and sharp tools. Of course doing this kind of project is massively labour intensive and is made enjoyable because of the team-work involved. It would be more of  a slog on your own, but perfectly achievable given the time.


Sunday, 11 November 2012

Batten and shingles


Autumn is truly here and the leaves are falling, so its time to get the roof covered, starting with nailing down  battens and making  shingles.


The rafters and batten are cut from local larch by Jo sawmills, and they gave us some really nice stuff. 4"x 3" rafters and 2 x1" batten.


The batten is spaced at 6" centres to match the exposure of the shingles, which are 18" long, meaning the top 12" of each shingle is covered by the next layer. We nailed the batten down with galvanised nails to prevent corrosion. The durability of the larch means that it will easily last as long as the shingles, which can stay good for 70 years and more.


You make  footholds as you go. The ends get trimmed evenly once all is nailed down.


Larch has a lovely salmon colour, and is commonly used as planking for wooden boats, giving an idea of how durable it can be. There is a massive amount being felled country wide because of the phytophera contagion that is attacking it. Its nice to be able to source it but I worry whether we will see much locally in the future.


While the batten was being laid some of us started splitting out the shingles. Sweet chestnut is our choice of wood for the job, being easily splittable and very durable.


We cross-cut the bolts to the required length, then split them down the middle using a froe and mallet. Sweet chestnut is a joy to use in this way and splits incredibly easily. The most important thing is that the tree used is very straight-grained and knot free, otherwise the cleaving becomes difficult and the wastage gets unreasonable


.


You get a nice satisfying crunch as the fibres of the wood cleave apart, revealing the long story of the tree as it grew quietly in the woodland.


Then its time to trim off excess with a good sharp axe.


The drawknife then finishes it off with a nice smooth taper.


We will be needing over 2000 shingles so a long way to go, but there is no sense of hurry about this and meeting up regularly with a team of keen green woodworkers will be a great way to spend some  coming winter sundays.